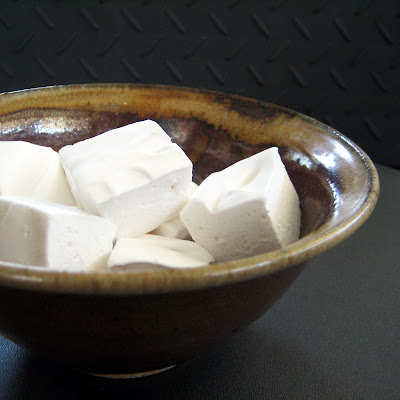
On this day I set out to conquer the sugar hurdle and attempt a recipe from this month's Bon Appétit, homemade marshmallows.
The recipe is pretty simple, consisting mostly of sugar, gelatin, vanilla, and water, along with a few other things, so the ingredients didn't cause me any consternation. What has always beaten me is the boiling of the sugar. This step, above all others, had me on my toes. One way or another, I always end up with a syrupy, crystalline mess in my pot, rather than a smooth, pourable, syrup. Today, however, I was careful, took my time, and double and triple check my temps. The temperature of the sugar was another issue for me. The recipe calls for you to boil the sugar until it reaches a final temperature of 240° F, which is fine if you're at sea level. Me, however, I live in northern Utah at an altitude of about 4500 feet. Living this high up, water boils not at 212°, but at 203°. This fact has been my undoing on many a baking or candy making endeavor, so I had to make an adjustment. After consulting a variety of sources, I settled on reducing the target temperature by 2° for ever 1000 feet about sea level. Thus I set my probe thermometer to start screaming at 231°. The results speak for themselves. ^_^
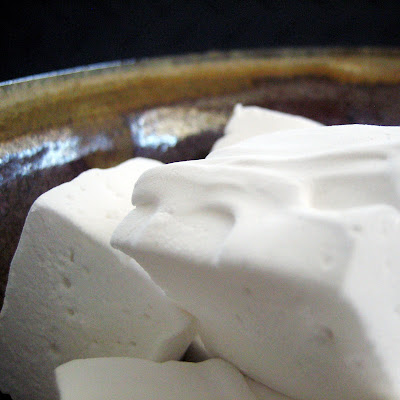
They taste just like marshmallows, so I think I can call them a success.
The great thing about the recipe, is that you can probably change out the vanilla for just about any flavor your heart desires, and the imagination can dream. Amaretto marshmallows, anyone? How about lemon, or chocolate, or coffee, or rum? The possibilities are quite intriguing. ^_^
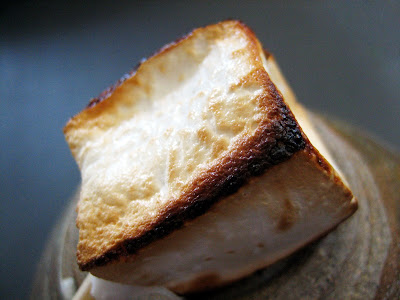
And if you were about to ask, yes, they are wonderful when roasted atop the stove.
Homemade Marshmallows
à la Bon Appétit, July 2008
Nonstick vegetable oil spray
1 cup cold water, divided3 1/4-ounce envelopes unflavored gelatin
2 cups sugar
2/3 cup light corn syrup
1/4 teaspoon salt
2 teaspoons vanilla extract
1/2 cup potato starch*1/2 cup powdered sugar
Line 13x9x2-inch metal baking pan with foil.
Coat foil lightly with nonstick spray. Pour 1/2 cup cold water into bowl of heavy-duty mixer fitted with whisk attachment. Sprinkle gelatin over water. Let stand until gelatin softens and absorbs water, at least 15 minutes.
Combine 2 cups sugar, corn syrup, salt, and remaining 1/2 cup cold water in heavy medium saucepan. Stir over mediumlow heat until sugar dissolves, brushing down sides of pan with wet pastry brush. Attach candy thermometer to side of pan. Increase heat and bring syrup to boil. Boil, without stirring, until syrup reaches 240°F, about 8 minutes.
With mixer running at low speed, slowly pour hot syrup into gelatin mixture in thin stream down side of bowl (avoid pouring syrup onto whisk, as it may splash). Gradually increase speed to high and beat until mixture is very thick and stiff, about 15 minutes. Add vanilla and beat to blend, about 30 seconds longer.
Scrape marshmallow mixture into prepared pan. Smooth top with wet spatula. Let stand uncovered at room temperature until firm, about 4 hours.
Stir potato starch and powdered sugar in small bowl to blend. Sift generous dusting of starch-sugar mixture onto work surface, forming rectangle slightly larger than 13x9 inches. Turn marshmallow slab out onto starch-sugar mixture; peel off foil. Sift more starch-sugar mixture over marshmallow slab. Coat large sharp knife (or cookie cutters) with nonstick spray. Cut marshmallows into squares or other shapes. Toss each in remaining starch-sugar mixture to coat. Transfer marshmallows to rack, shaking off excess mixture.
*A food thickener made from cooked, dried, ground potatoes, this gluten free flour is also known as potato flour; available at most supermarkets.